Sections
Sections are the actual curriculum implementations. A specific example would be the March-April 2025 delivery of LOVE Notes to the Boys & Girls Club in Nashville. Each section is associated with a curriculum, and a site.
NB: Please note the difference between “section” and “session”. Each section includes one or more sessions.
Only admin users have the permission to create and edit sections.
To create a section:
- Navigate to the Site you want to create a section for.
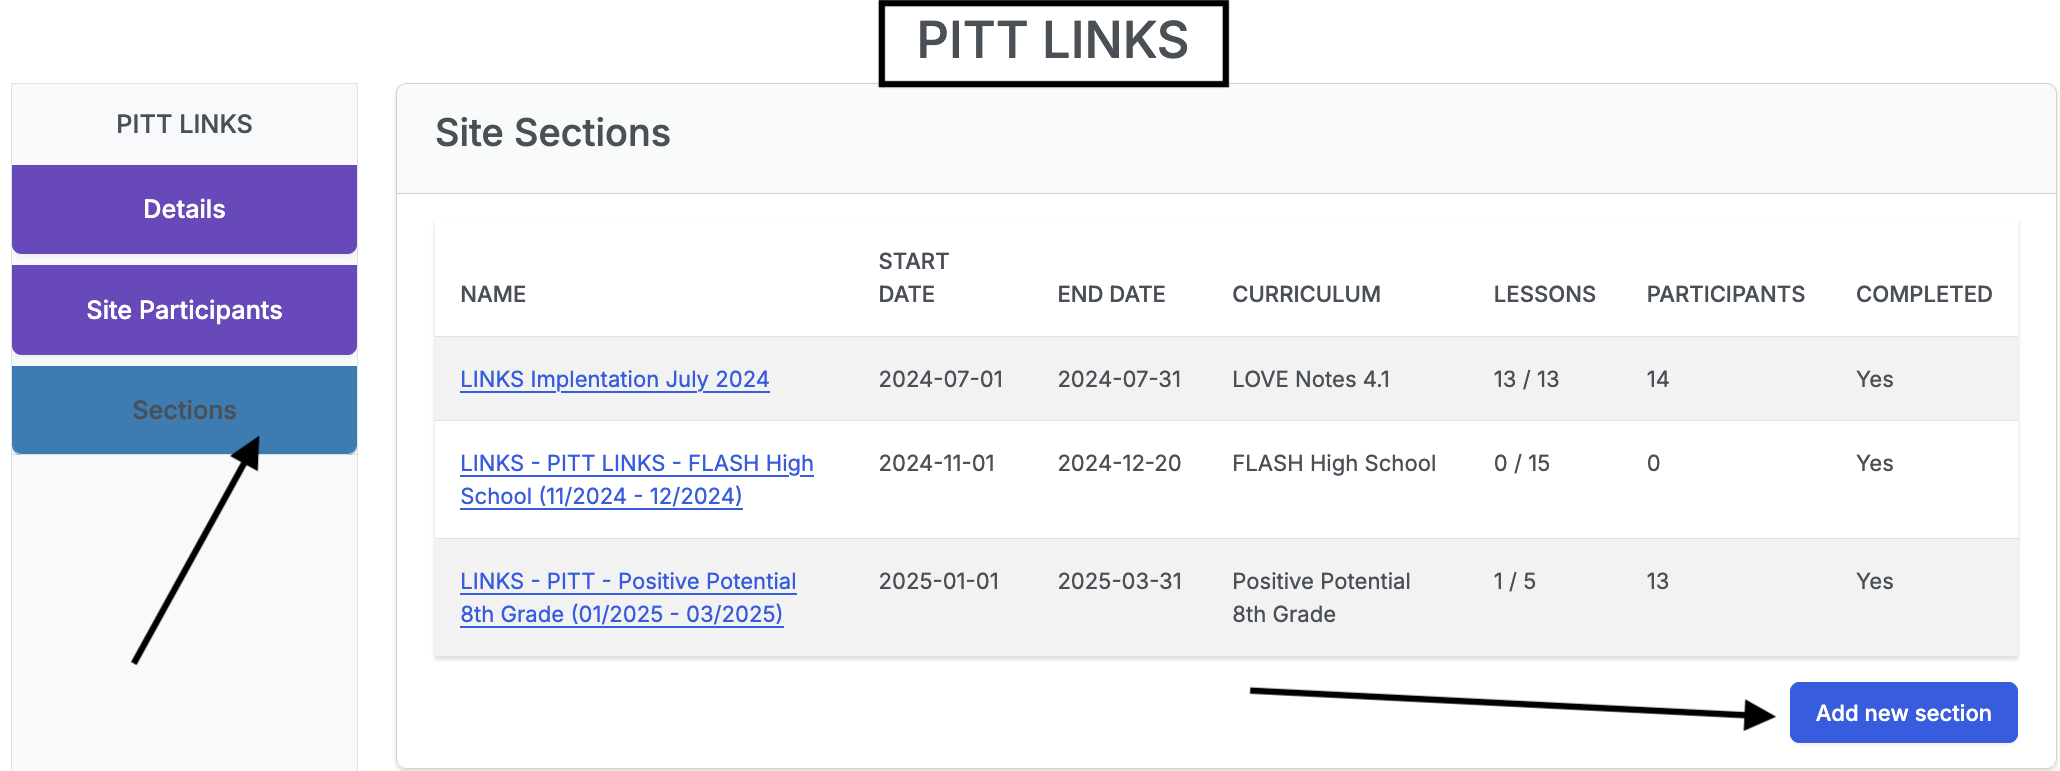
- Click on the Sections tab and then click on the Add new section button.
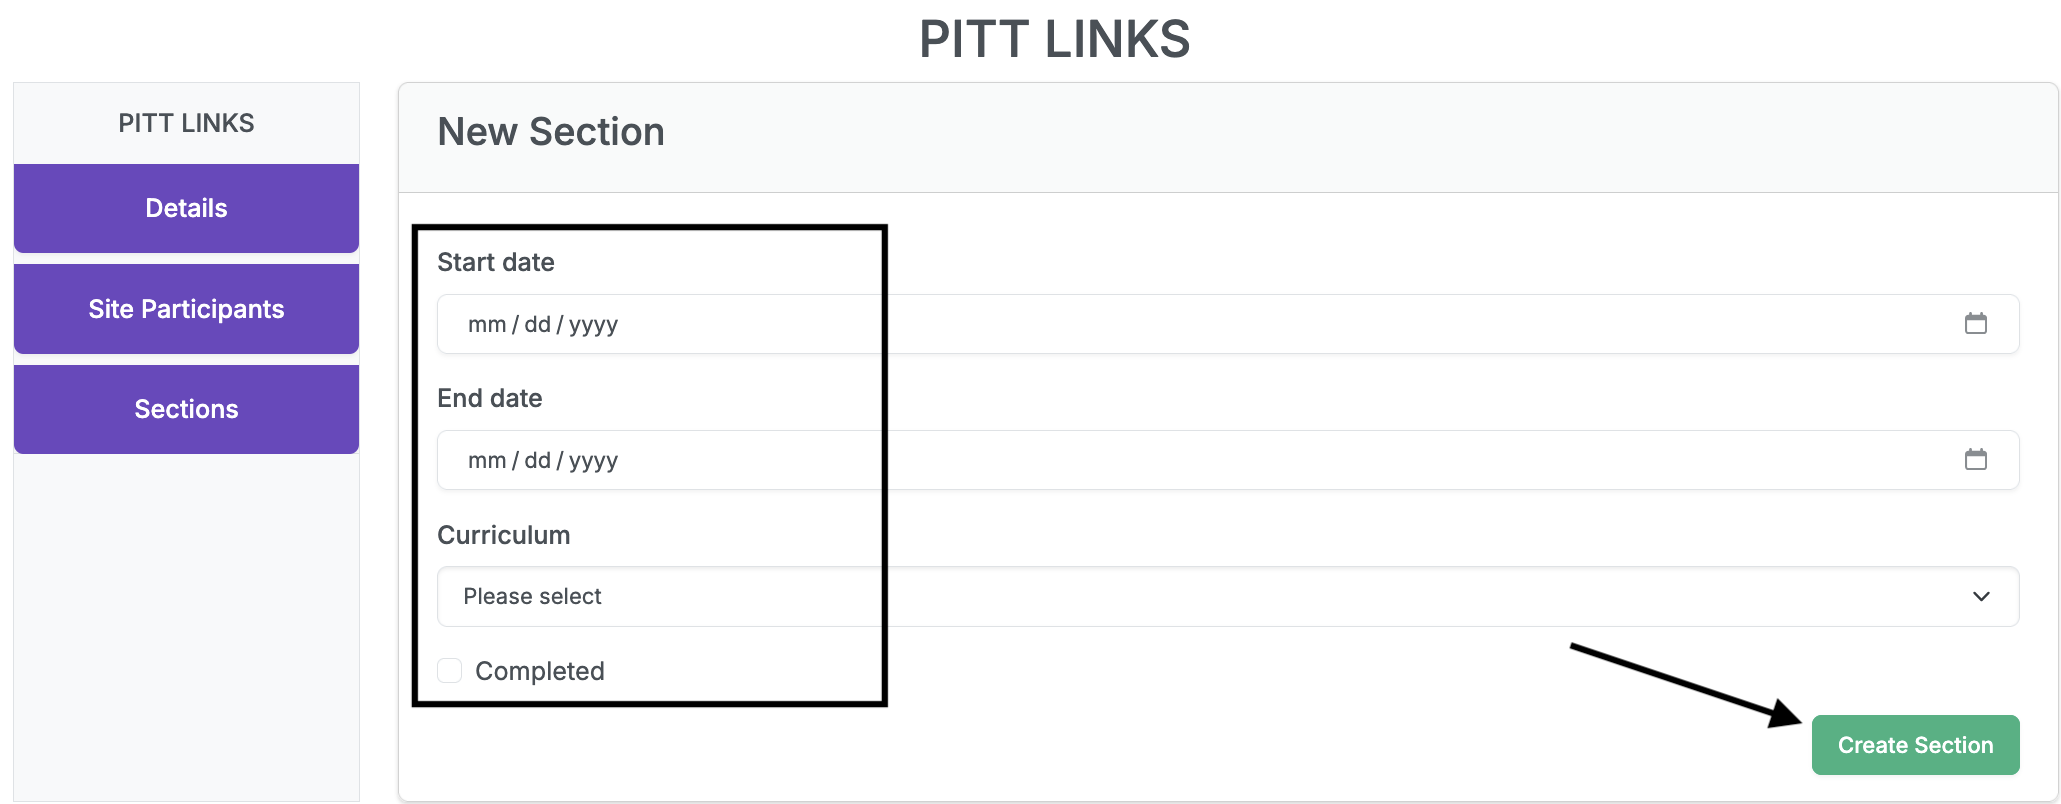
- Provide the section’s start and end dates, and select the curriculum being implemented. Leave the completed checkbox unchecked.
- Click the Create Section button.
To edit a section:
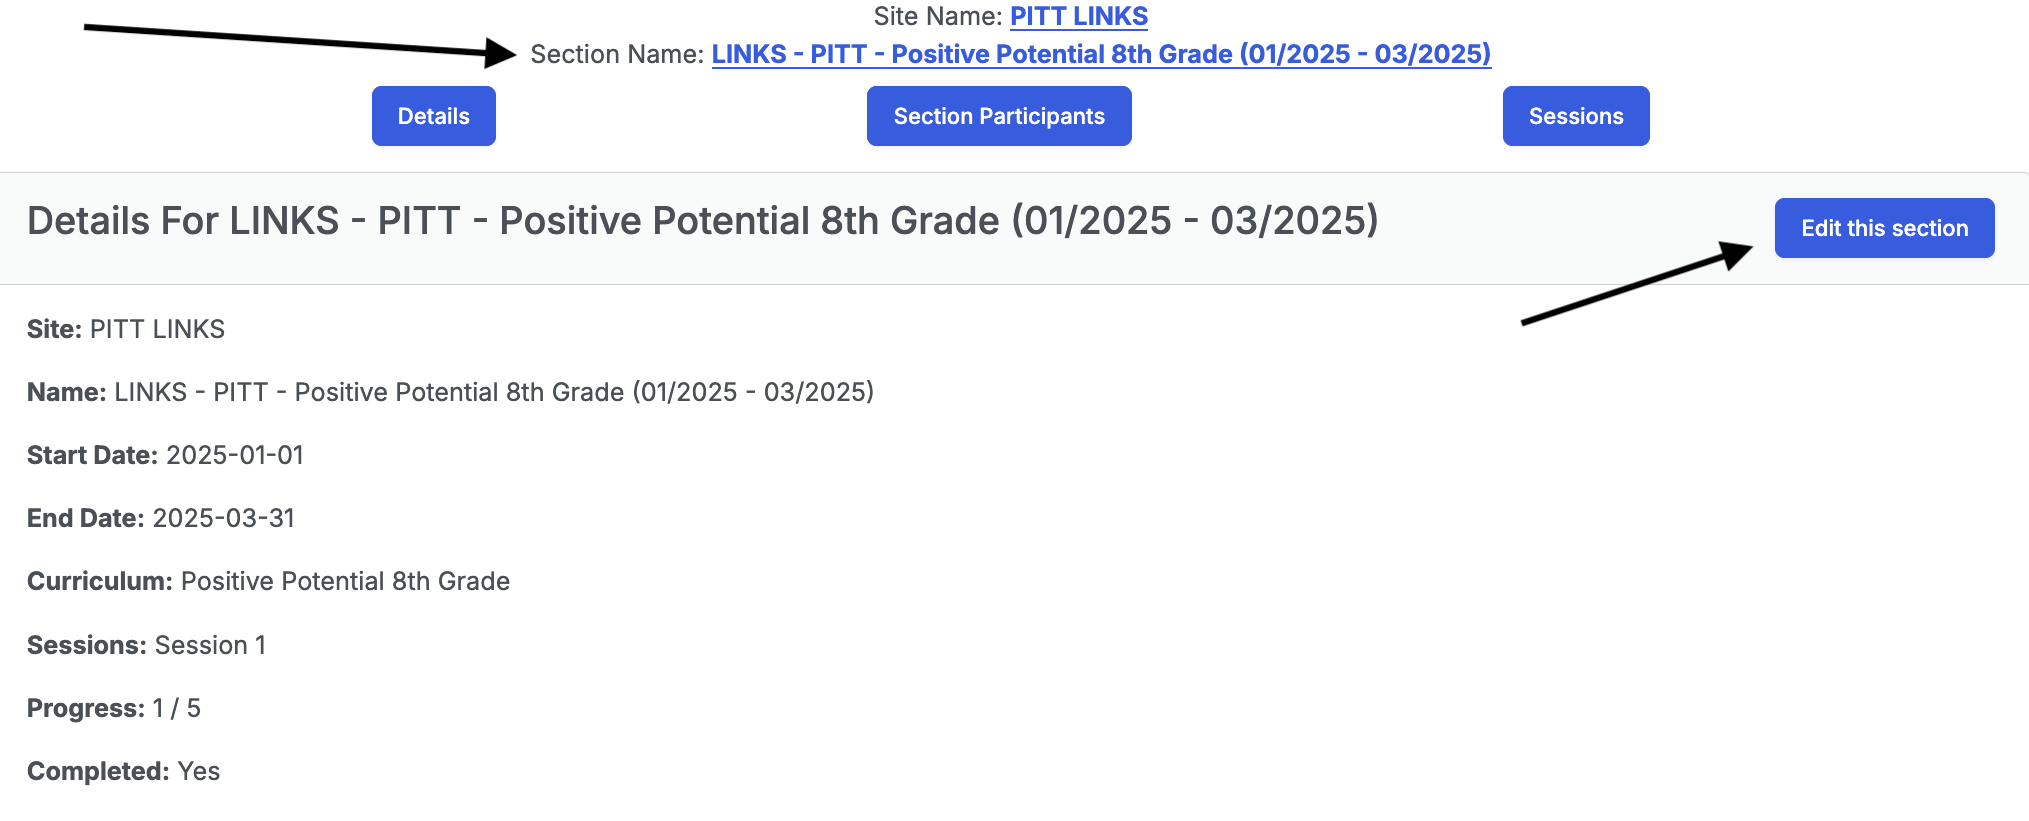
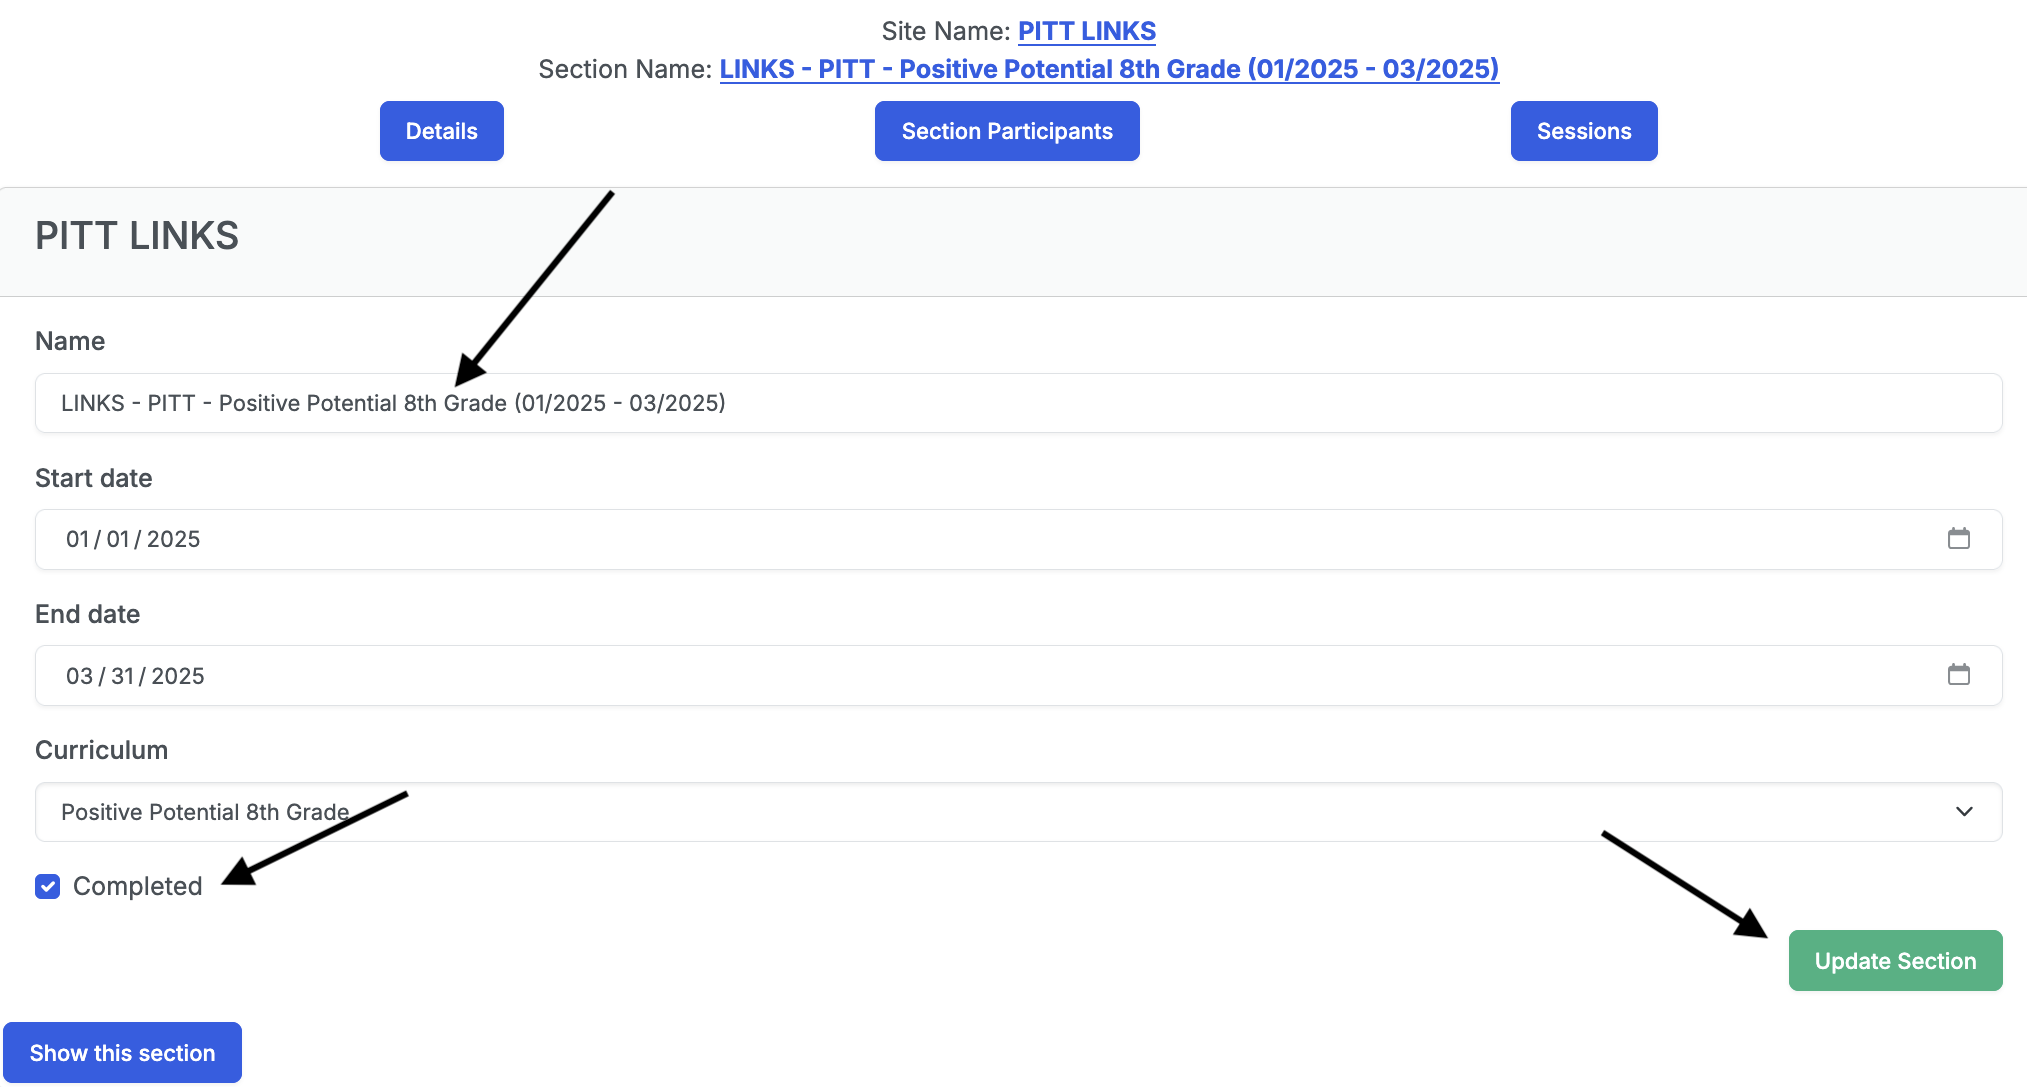
To edit a section, click the Edit this section button on the section’s page. On the form that opens, you will see a name field that was not there in the create form. The name is automatically generated and follows the format “Organization Name - Site Name - Curriculum Title (Section Start Month/Year - Section End Month/Year)”, for example: “Organization A - Site 1 - Curriculum II (01/2020 - 02/2020)”.
You should only check the completed checkbox if the section is completed i.e. all the sessions have been completed and the section is ready for reporting.
Click on the Update Section button to save the changes.
To enroll participants to a section:
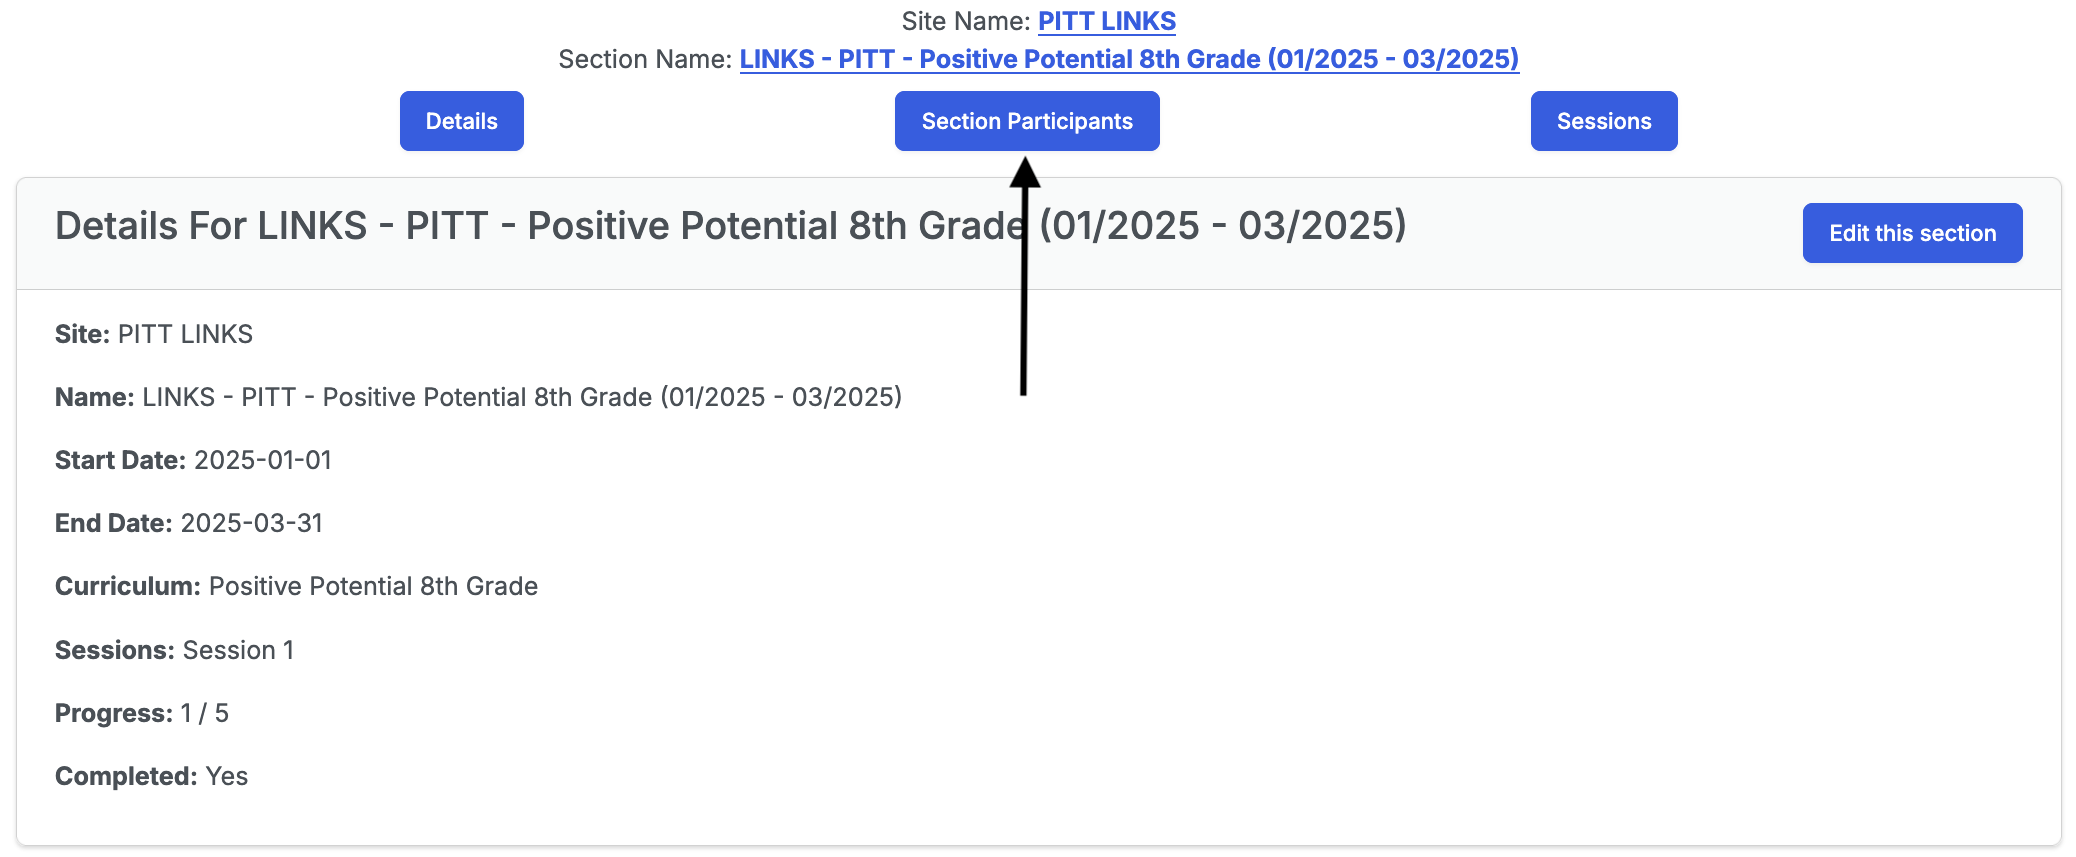
- Click on the Section Participants tab on the topbar on the section’s page.
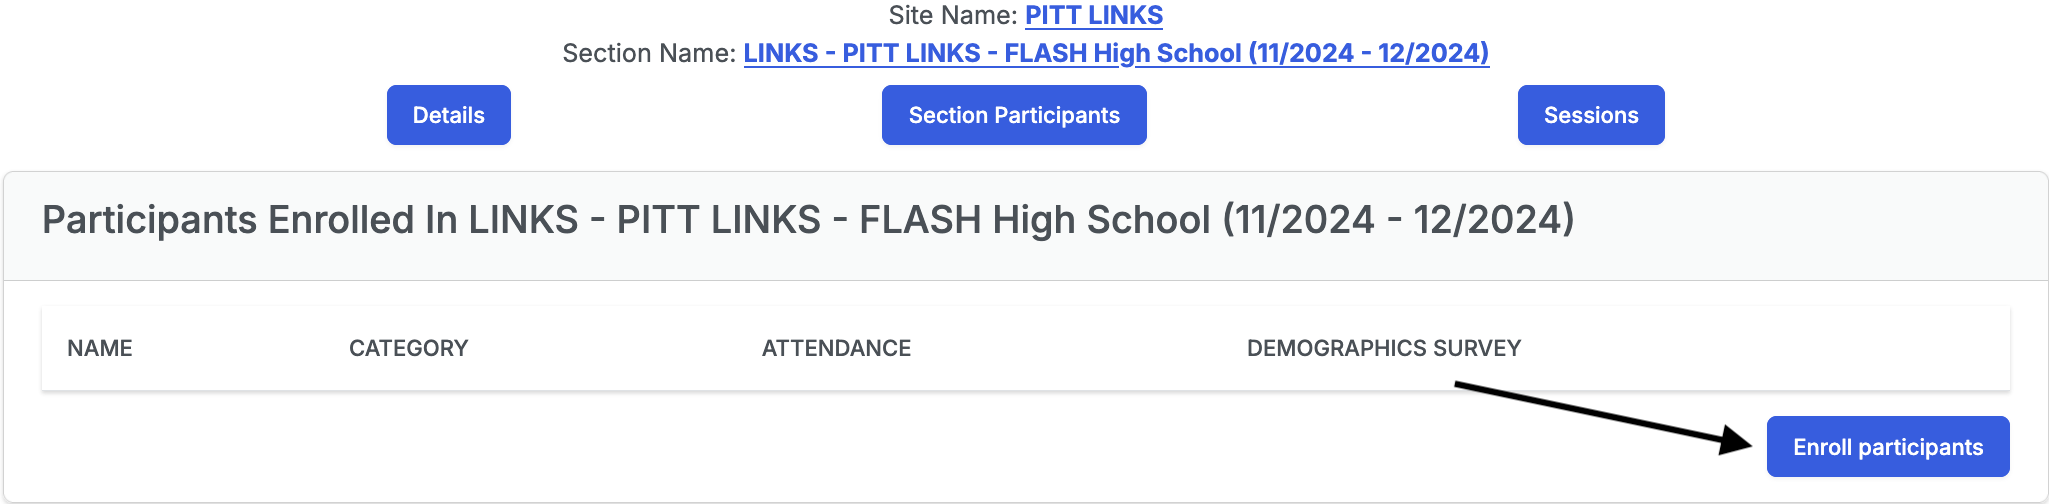
- Then click on Enroll participants button.
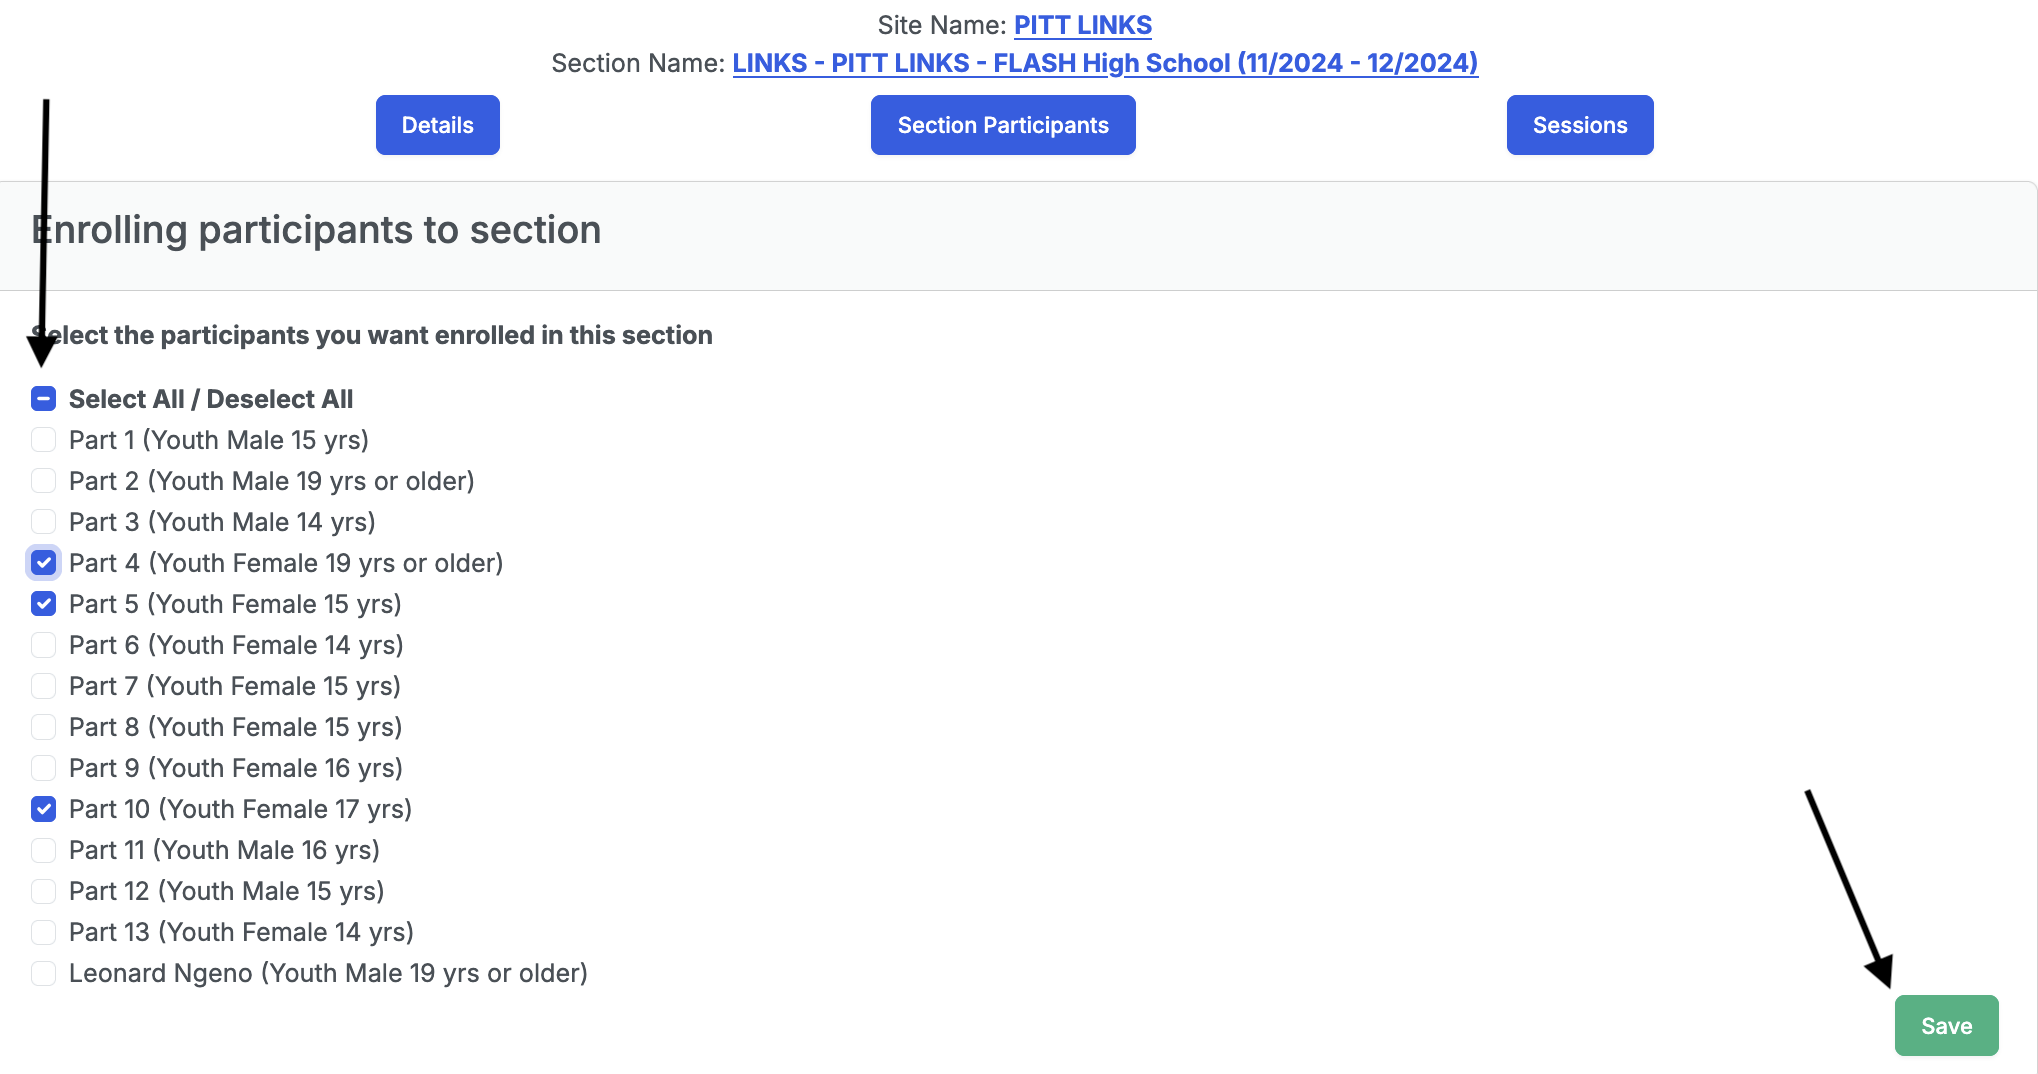
- Then select the participants you want to enroll. Unselect the participants you don’t want to enroll.
- Click the Save button to complete the enrollment.
To add sessions to a section:
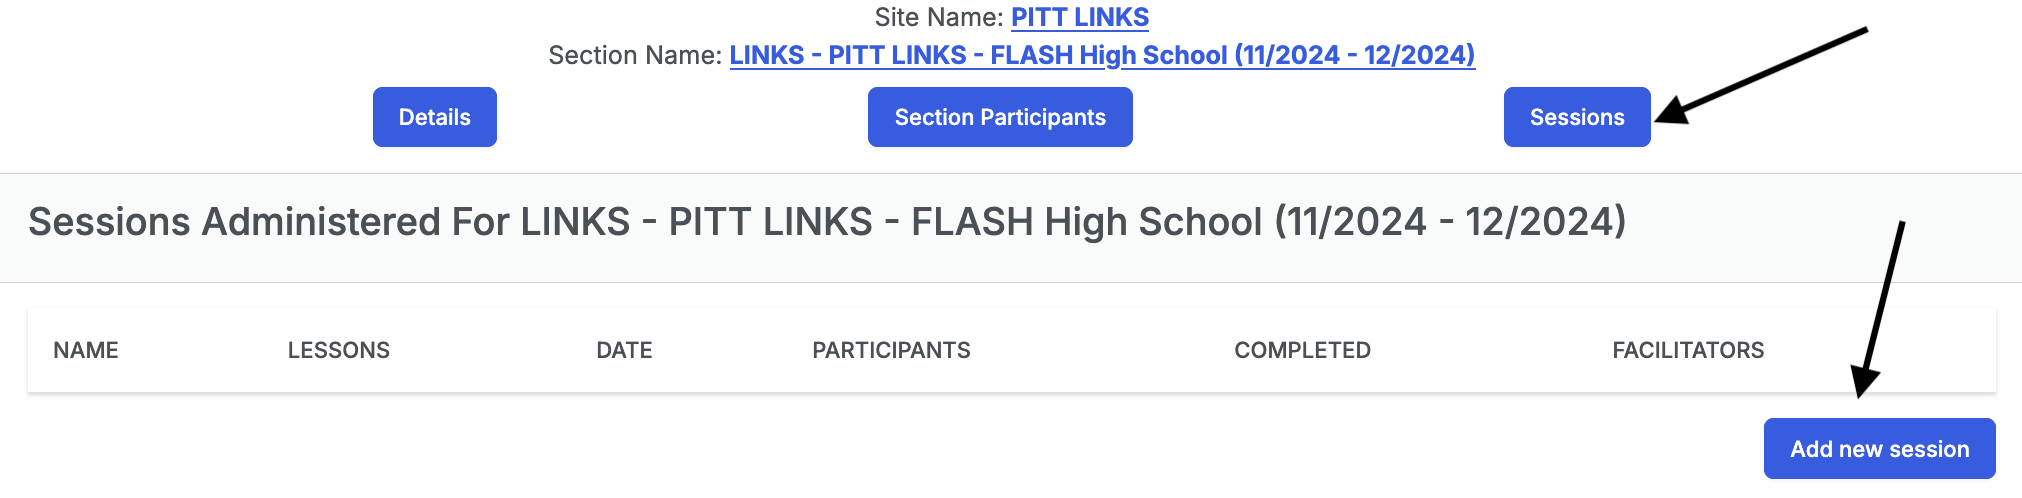
- Click on the Sessions tab on the topbar on the section’s page.
- Then click on Add new session button and follow the steps outlined in To create a session.
To generate a section data tracking report:
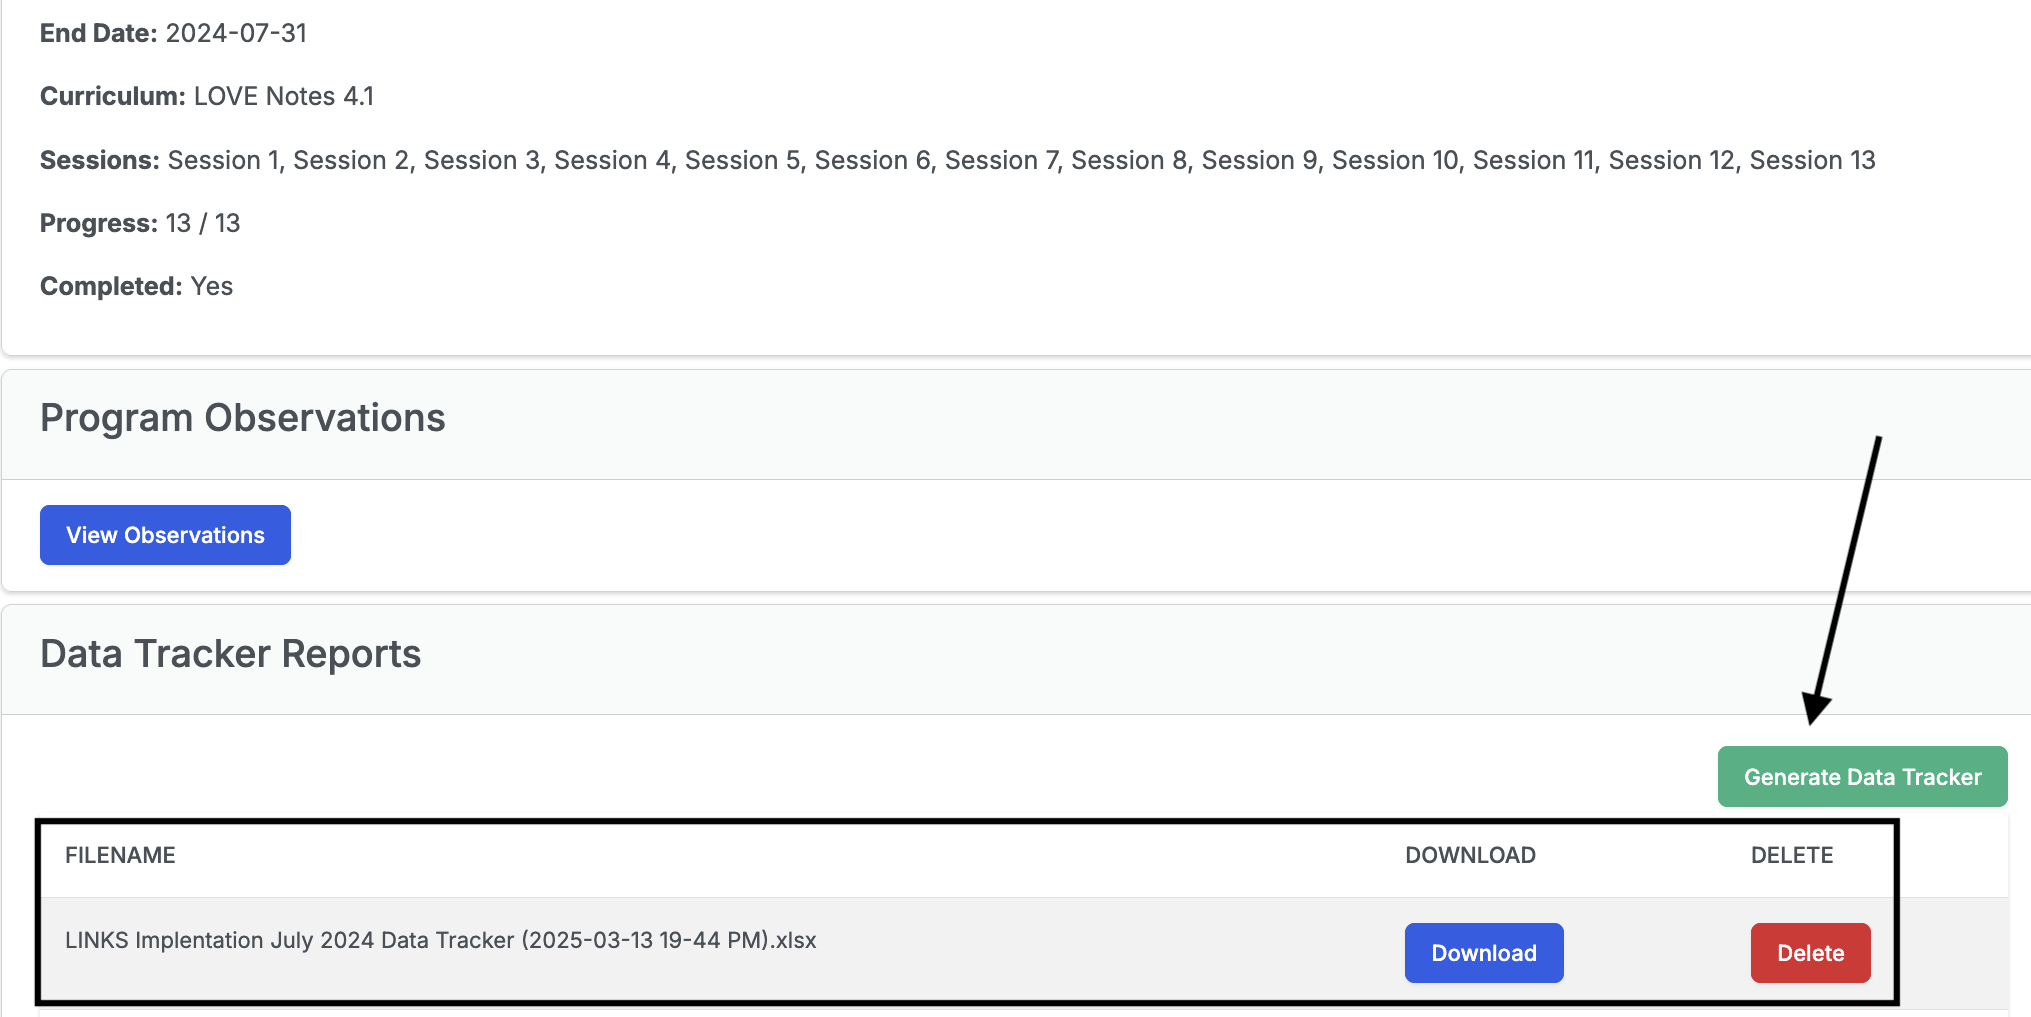
To generate a section data tracking report, click on the Generate Data Tracker button on the bottom card on the section’s page. Give it a bit of time to generate the Excel file and then refresh the page to see the download link. The name of the file will contain the date and time the report was generated.